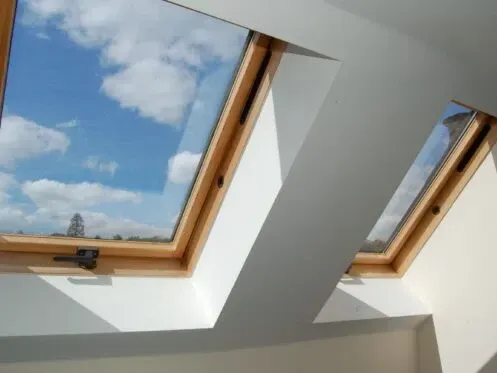
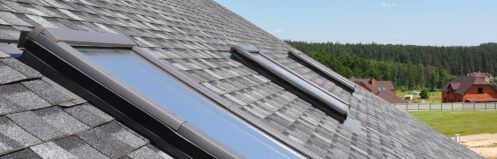
The best time to install skylights is when having your roof replaced. Not only is the process much quicker and easier, but it also reduces the chances of water leaking in around the skylight. Nonetheless, if your roof is still in good condition and has a lot of life left, it’s definitely possible to add skylights without sacrificing your roof’s performance as long as everything is done properly.
If your roof is already fairly old and will likely need to be replaced in the next few years, you’ll save quite a bit of money if you wait and have a roofing company add the skylights at the same time as they’re tearing off the old roof.
An Overview of the Skylight Installation Process
The first step is obviously determining where you want the skylights to be, which is a bit more difficult than you may think. The reason is that you’re limited by the location of the rafters or trusses as the skylight has to be positioned between two of them.
When installing a skylight in a vaulted or cathedral ceiling, you can just use a stud finder to locate the rafters and determine exactly where the skylight will go. The next step is to drill a hole through the roof approximately in the center of where the skylight is going.
It’s also possible to install a skylight in a room below the attic and create a light well in the ceiling that extends up to the skylight in the attic. In this case, you’ll need to locate the trusses that you want to place the skylight in between in the ceiling and then drill a hole up through the roof between those two trusses from the attic.
Once the location is marked, the next step is to open up the ceiling and cut a hole through the roof. This is where things become a bit trickier if you’re installing a skylight on an existing roof. In this case, it’s first necessary to remove the shingles from the area to access the wooden roof deck and cut the hole through it.
Once you have the hole in the roof and the ceiling, the next step is to build the frame for the skylight in the ceiling. Unless you’re installing a smaller, plastic dome skylight, it is usually also necessary to reinforce the rafters or trusses to support the additional weight.
The final part of the process involves going on the roof, mounting the skylight in the opening, nailing it to the roof and then sealing all around it to ensure it doesn’t leak. Sealing around a skylight involves several steps. The first is to lay down the underlayment or water-and-ice shield. It’s important that this shield extends a minimum of 6 inches around all sides of the opening and laps up onto the frame of the skylight.
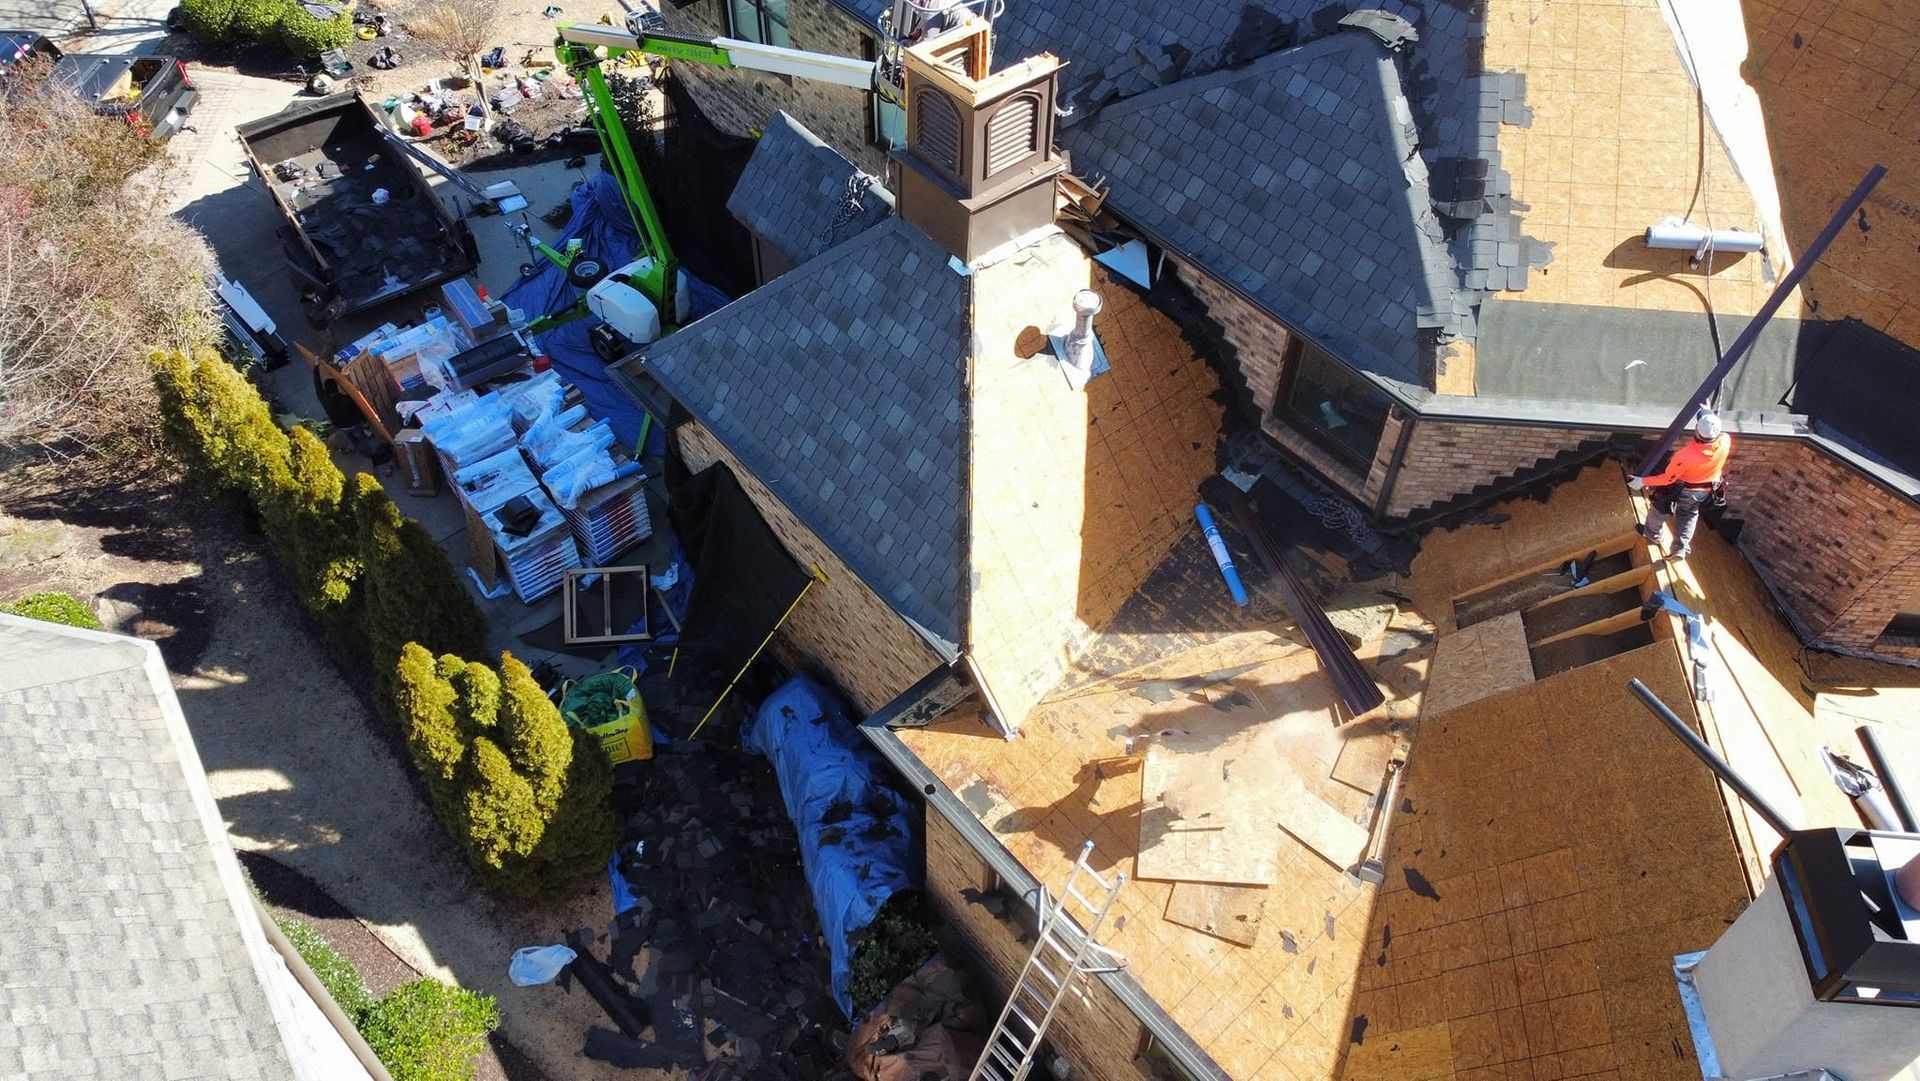
Once the shield is securely stapled to the roof deck, the next step is installing the metal flashing. This is another time when it’s more difficult if you’re installing the skylight without replacing your roof. If the old roof is already torn off, it’s possible to just cut the four pieces of metal to size, bend them at a 90-degree angle so that they fit tightly against the roof and the frame of the skylight and then secure them to the roof deck.
When
installing a skylight on an existing roof, it’s instead usually necessary to work row by row. That means installing a smaller piece of flashing, replacing the shingles in that row and then working up to the next row until you get to the top of the frame. From there, it’s possible to install the top piece of flashing in one piece and then replace the last row of shingles.
The most important step when installing flashing is to fully seal around all of the edges with caulk or silicone roof sealant. That way, if water ever seeps under the shingles, it won’t be able to get underneath the flashing and potentially leak into the house through the opening. While the underlayment also helps prevent this, flashing is the main line of defense for preventing leaks around a skylight or any other roof intrusion. Making sure the flashing is properly sealed is especially important if the roof has felt underlayment instead of synthetic. Synthetic underlayment is fully waterproof, meaning it should prevent leaks as long as it is properly secured to the roof and doesn’t have any holes in it. Felt underlayment is only water-resistant, which means water will eventually start soaking through it if it stays wet for an extended time.
After the skylight is installed and the roofing materials are in place, all that’s left is to install the drywall on the frame or light well and then finish and paint it.
The Importance of Professional Skylight Installation
Unless you’re in the construction or roofing business, skylight installation is most definitely not a DIY project. One reason is that working on a roof is extremely dangerous unless you have the proper safety equipment and take all of the necessary precautions. This is especially the case if the roof has a fairly steep slope. Anyone who works on a sloped roof should always wear an OSHA-approved personal fall arrest system.
This type of system consists of a safety harness, an anchor that gets securely attached to the roof and a rope and carabiner that are used to attach the harness to the anchor. As long as the anchor is attached properly, the rope and harness will ensure that the person doesn’t fall all the way off the roof if they were to slip.
In addition to the high risk of potential injury or death, the other reason you should always hire an experienced professional when installing a skylight is just so that you can make sure the job is done properly. An improperly installed skylight is almost certain to eventually start leaking. Even a small leak will lead to some of the drywall around the opening getting damaged.
Water will also damage the insulation in the ceiling and make it so that it doesn’t work as well at trapping out heat during the summer and trapping in heat during the winter. There’s a high chance that you’ll end up with mold growing inside your ceiling as well.
The biggest concern if a skylight is leaking is that the water will damage the wooden sheets on the roof and the boards that make up the rafters or trusses and the opening frame. Wood rot can lead to the skylight not being properly supported and potentially cause it to come crashing down inside.
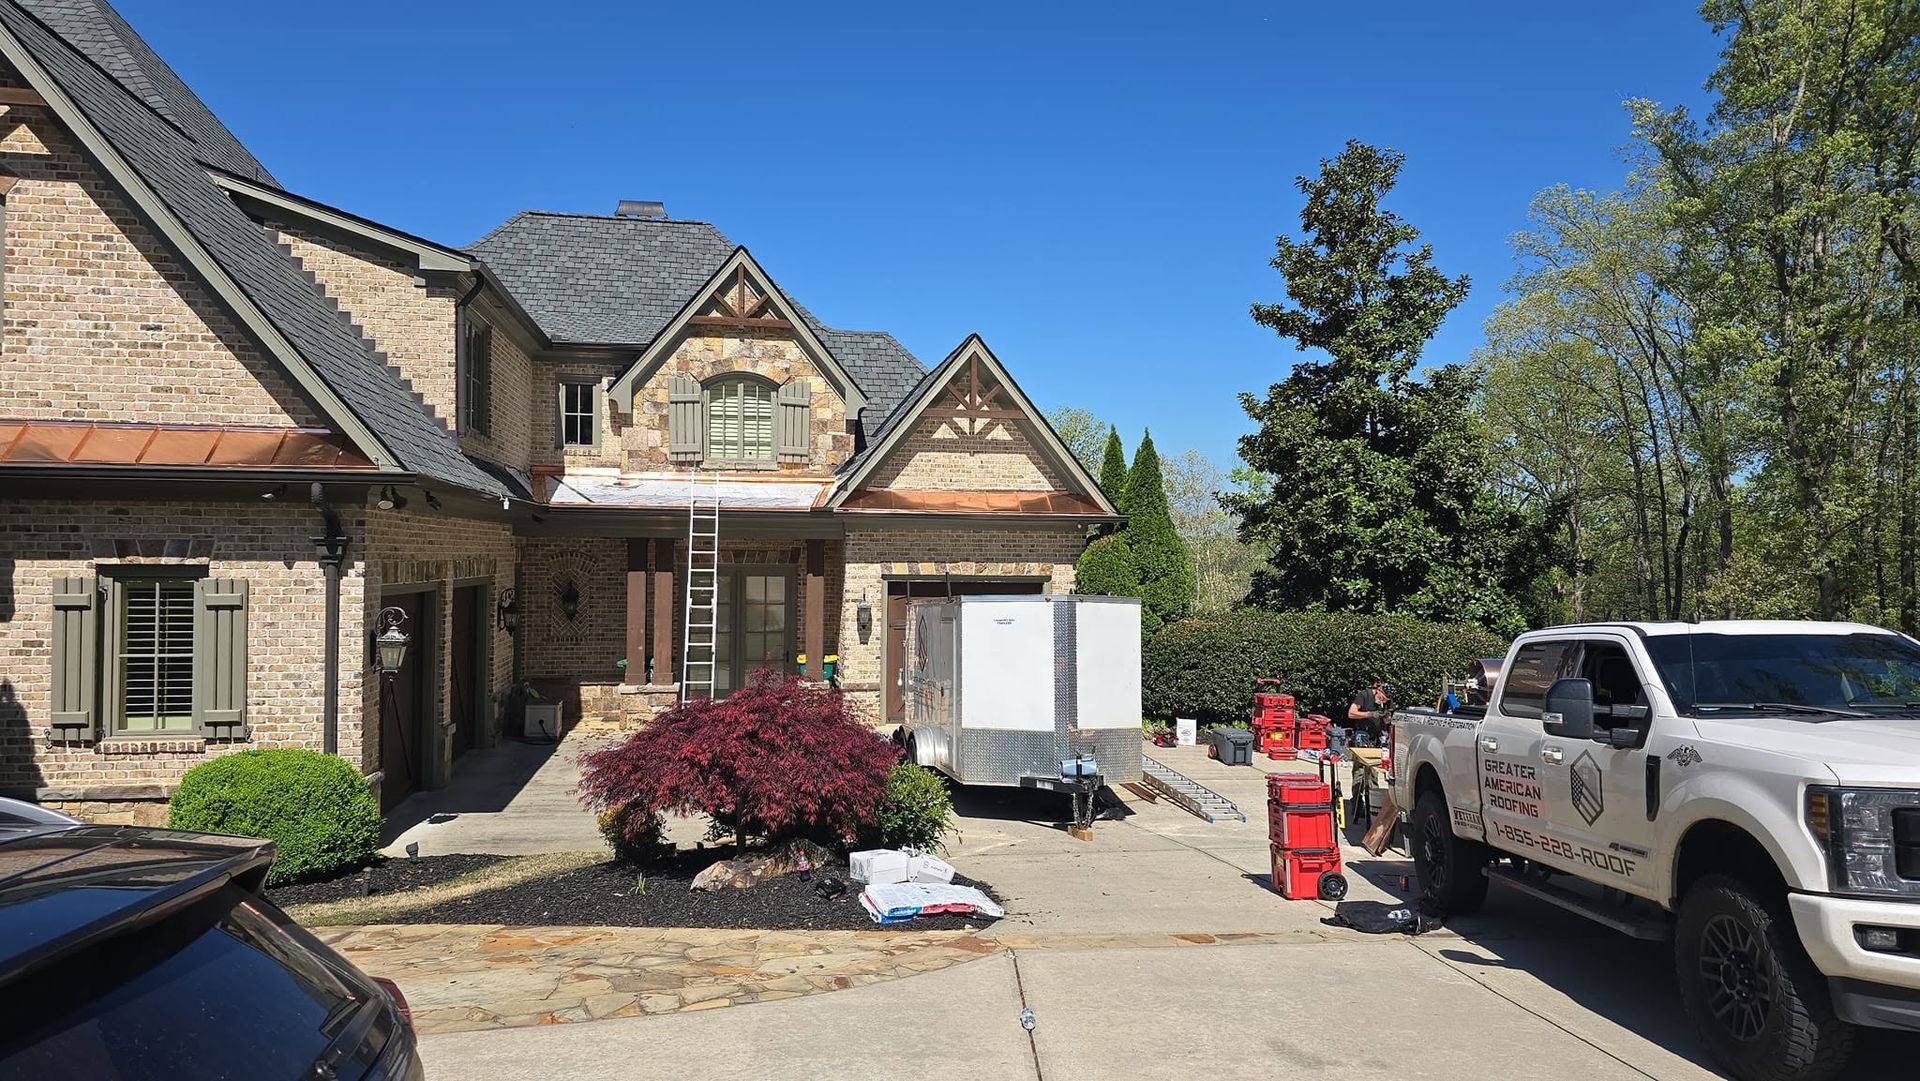
Greater American Roofing is the company to trust for professional skylight installation and roofing services in Alpharetta, GA. We’ve been in business for nearly 30 years, and our team has decades of combined roofing experience. We deliver exceptional results every time and pride ourselves on always exceeding our customers’ expectations.
If you’re looking to install skylights or you need any other roofing service, give us a call to get the expert service and support your home deserves.